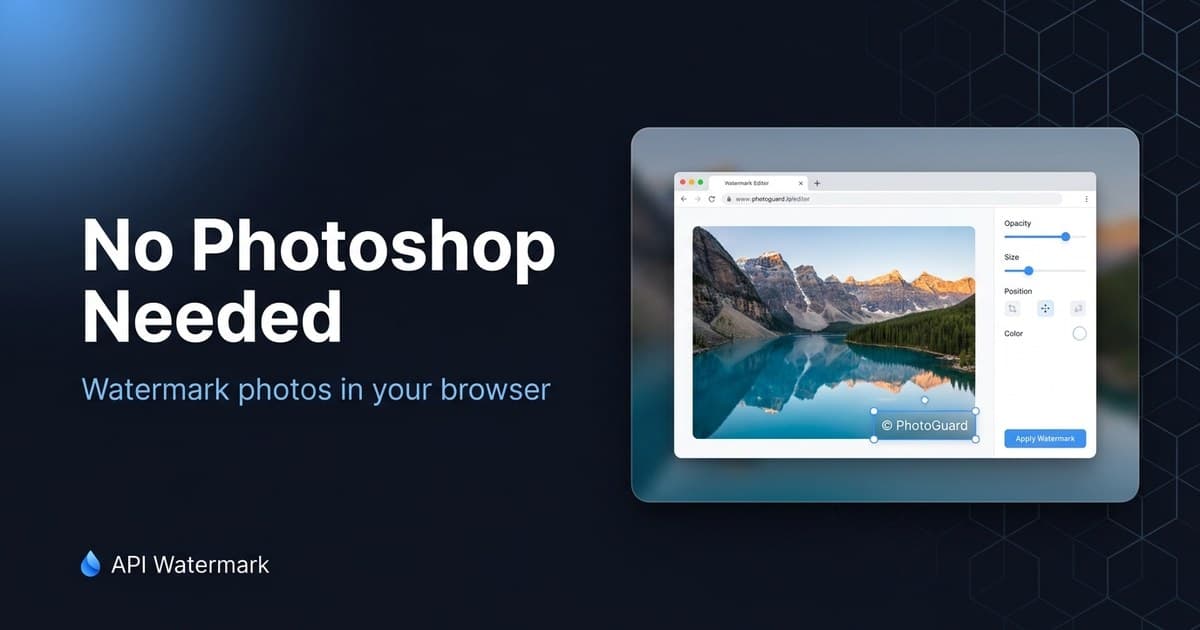
The Photoshop watermark workflow — open image, place text or logo layer, adjust opacity, flatten, export, repeat — is fine exactly once. At photo two hundred it's an evening gone, and recording Actions to automate it means learning more Photoshop to avoid using Photoshop. For most people the honest requirement is: my mark, my placement, every photo, no software.
That's a browser-tool problem. Below is the five-minute version — single photos first, then batches, then the settings that make a watermark look professional instead of pasted on.
1Watermark one photo in the browser
Open the free image watermark tool, drop in a photo (JPEG, PNG, WebP, AVIF — or even an animated GIF), and type your text or upload a logo PNG. Drag it into position or snap to one of nine presets, set opacity and size, pick your output format, download. No account for your first files, and processing takes seconds.
Text marks render from real vector fonts — your name, your site, your handle — with control over size, color, and rotation. Logo marks keep their transparency, so a white logotype on a transparent PNG overlays cleanly on any photo.
2Batch a whole folder at once
The batch tool takes up to 20 images per run, applies the identical mark to all of them, and returns one ZIP. Same corner, same opacity, same size on every file — the consistency you'd need an Action for in Photoshop is just how it works. Bigger libraries loop through in a few runs, or through the API if you're comfortable with a script.
Dynamic variables do the per-image work: {filename} stamps each photo with its own name, {n} numbers a sequence, {date} dates the batch. That's per-image customization with zero per-image effort.
Do
- Save your settings as a preset so every batch matches
- Use PNG for graphics-heavy shots, JPEG/WebP ~90 quality for photos
- Test one image at full size before committing a 200-photo batch
Try it on a photo right now
Free, no signup, no install. Drop a photo, place your mark, download — then save the preset for every batch after.
3Settings that look professional
For attribution on social and portfolio work: a small mark in a lower corner at 40–60% opacity, inset from the edges, in white or black depending on the image. For protecting proofs and previews: switch to tiled mode — a diagonal repeat at 15–25% opacity that survives cropping and screenshots.
The professional tell is consistency, not subtlety. One mark, one position, one opacity across everything you publish reads as a signature; varied placements and sizes read as an afterthought. Set it once, save the preset, stop deciding.
Don't
- Giant opaque stamps across the subject — protection isn't defacement (except on proofs, deliberately)
- A different corner every time — inconsistency looks amateur
- Marks over flat sky or plain walls — trivially retouched out
4When you'd still want a desktop editor
Honesty clause: if your watermark needs blend modes, per-image warping, displacement mapping, or hand-placed integration into the scene, that's genuine compositing work and Photoshop (or Affinity, or GIMP — both cheaper) is the right tool. For the actual watermarking job — same mark, right place, many photos — the browser tool wins on time, cost, and consistency, and your originals never need to leave your machine for the single-image tool.